Looking for university website design ideas?
The increasing competition in the education industry is increasing day by day. These days there are a number of universities expanding their portfolio offering multiple graduate and post graduate programs helping students prepare them for their future.
To have a global foot print and proper marketing strategy it’s very important to have a well-designed website to attract new students for the programs they are offering. The website should provide what you are offering, what value your university provides for students which would help them in their career. Today in the blog post, we will be discussing 10 website designs ideas for universities.
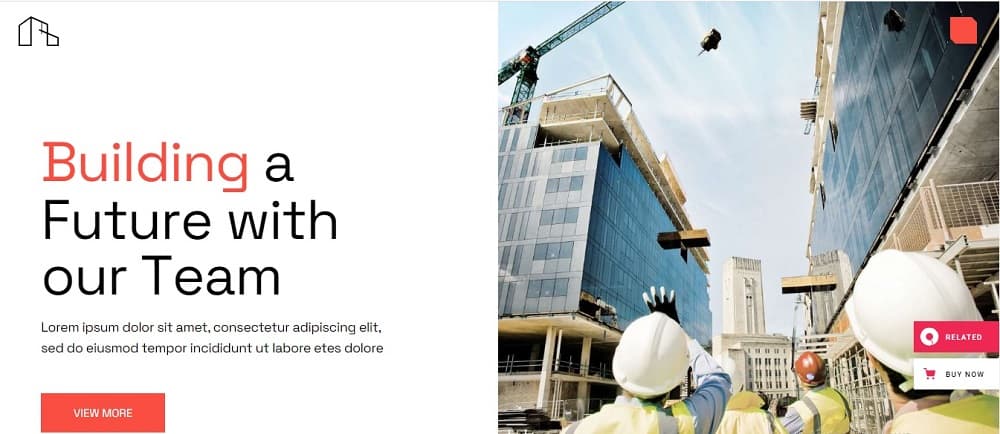
University Website design Idea 1
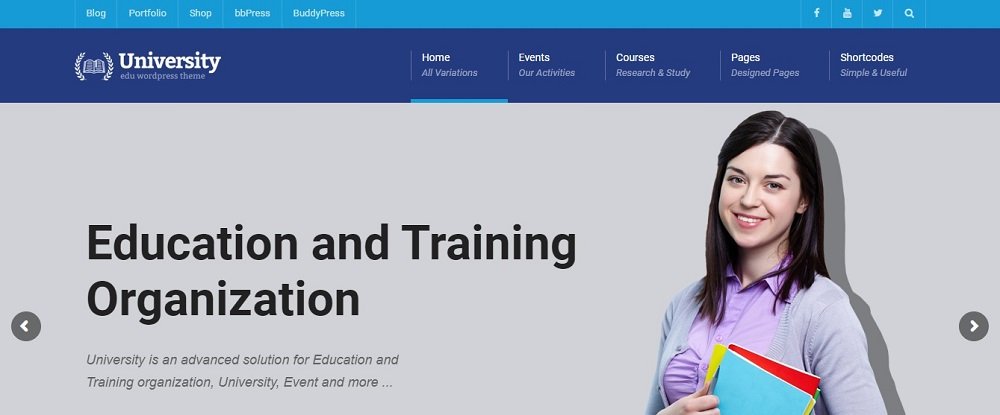
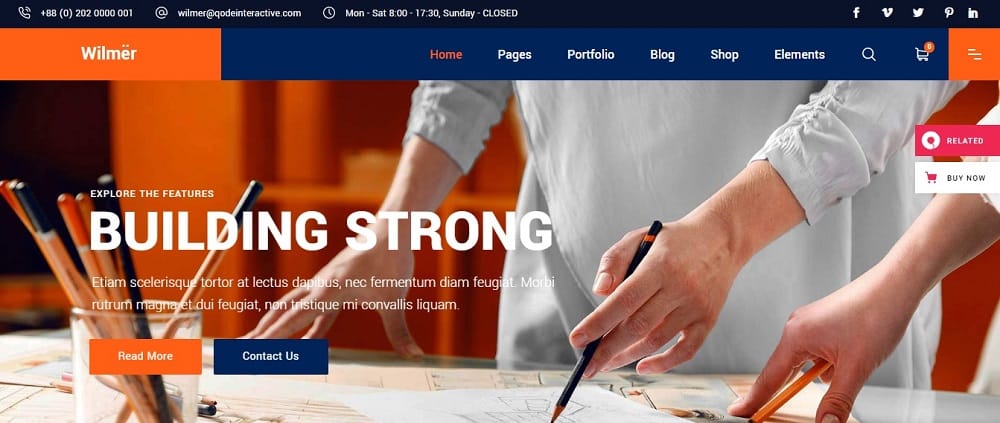
The first web design idea we are discussing is one of the perfect designs for a website. It shows all the important information on a glance for students to navigate, it is clear and prices with all the main aspects covered. The main image popping on the website tells how important education and training is and how it can help.
The main tabs in the website design includes home, events, courses and pages. Over here the events and courses tabs are the most important one. The courses tabs will help students learn about the courses which the university is offering and what to expect for them. This would help students decide if the university is the right fit for their needs. Further the event tab showcases all the events have taken place in the university. It’s not just the courses they offer, but student like to know what extra-curricular activities are happening in the university.
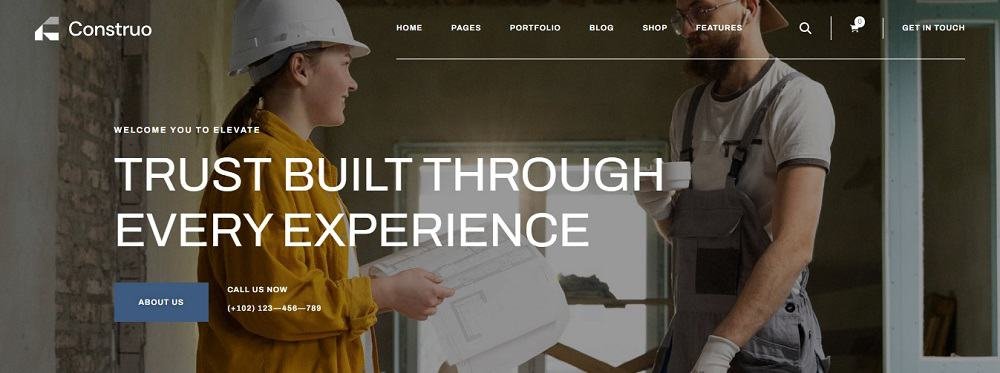
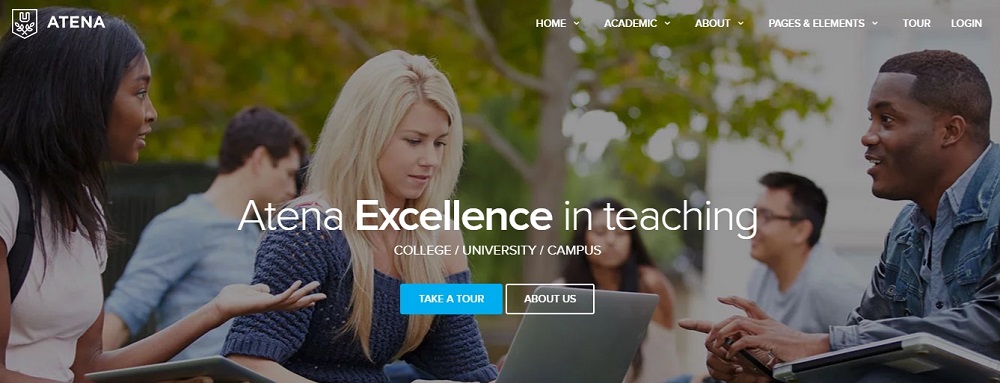
University Website design Idea 2
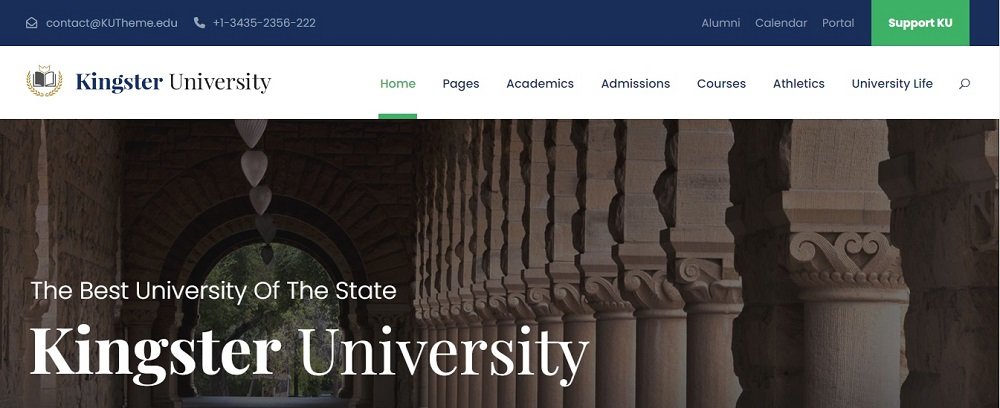
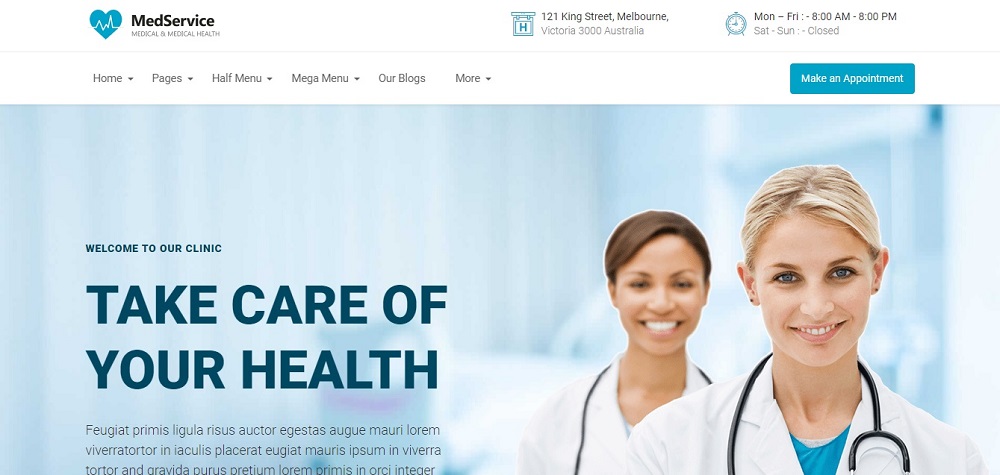
This second university design is a another brilliant one covering all aspects. Unlike the first idea, they are two things which are standing out. First the contact email address and number are on the top bar making it visible, which can help students to reach out and learn more about the university. The second stand out thing is the support KU page where students can access and see how they can be part of a good cause.
Other important aspect cover in this design is the admission tab, which is easily visible. This will help students to see what the admission criteria is and how they have to prepare to be a part of this university. Other tabs are covering all aspects which includes coursers being offered, a glimpse of the university life and the athletic activities the university is supporting and offering.
University Website design Idea 3
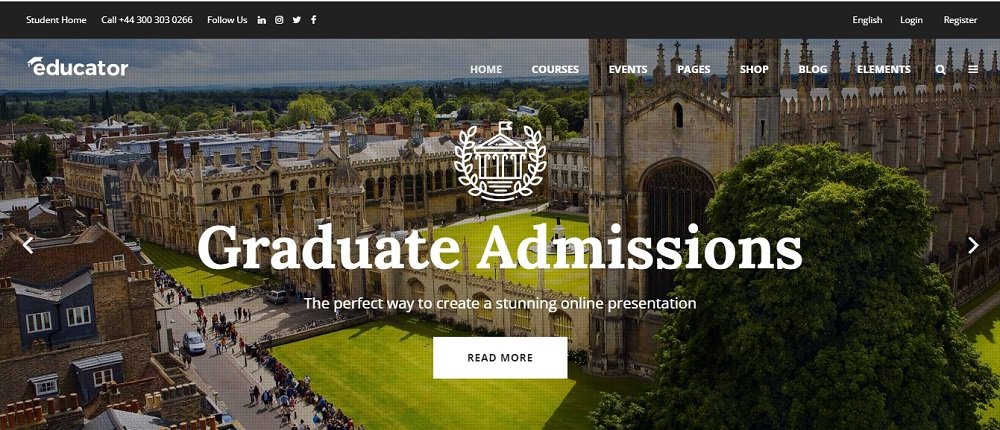
This third website design idea has a simplistic design. It has a subtle theme overall. The thing standing out in this website is the graduate admissions banner. This is a smart marketing strategy from the university. By accessing the read more tab the students would be redirected the admission criteria. Further contact details are easily visible with other tabs like courses and events. Also an option to change the website language is also available.
University Website design Idea 4

This website design on the first glance shows how the university life is. It welcomes the student by shown an option to start your career. Further a tab with student life is also available showcasing the university life. Another thing which is new here among other website is the Alumni section. Alumni section is very important area which students see closely. Alumni basically shows new students what they can achieve being a part of this university, and how well the graduated students doing in the real world.
University Website design Idea 5

This is a good basic website to start covering all aspects. It’s should the social media presence of the university with links to their Facebook, twitter, Instagram and YouTube account. A contact email and number are easily visible at the right top to reach them out. Other tabs cover all the aspects like about us, courses, pages and blogs.
University Website design Idea 6
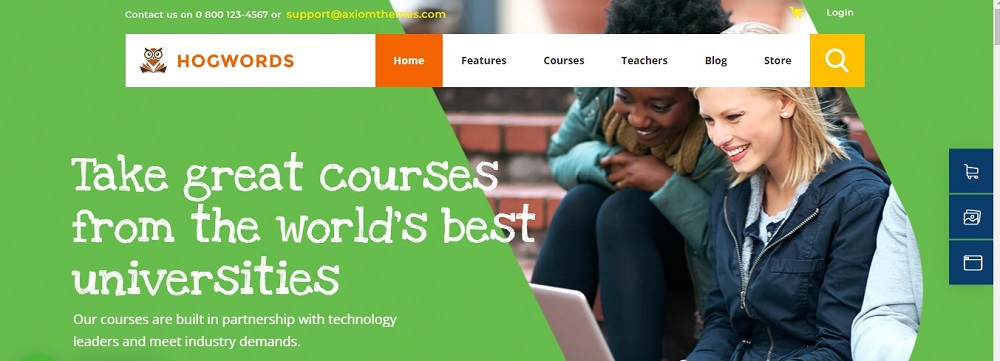
This university website design idea is different from others. The most visible thing standing out is the online course available. It showcases how its online course is rank the best in the world. And how it can be beneficial for the students. Other thing different from other websites is the price and package tab which shows how much their online course cost and what different multiple courses as a package a student can opt for.
University Website design Idea 7
The first thing popping in the website design is the red news icon which get your attention. The icons flashes that the admissions are open for the session. A contact email address and number are visible with the news of admission. Social media links for all pages is on the top right corner. Other tab which stands out reads out why my university, which shows reason why you should be a part of this amazing institute.
University Website design Idea 8
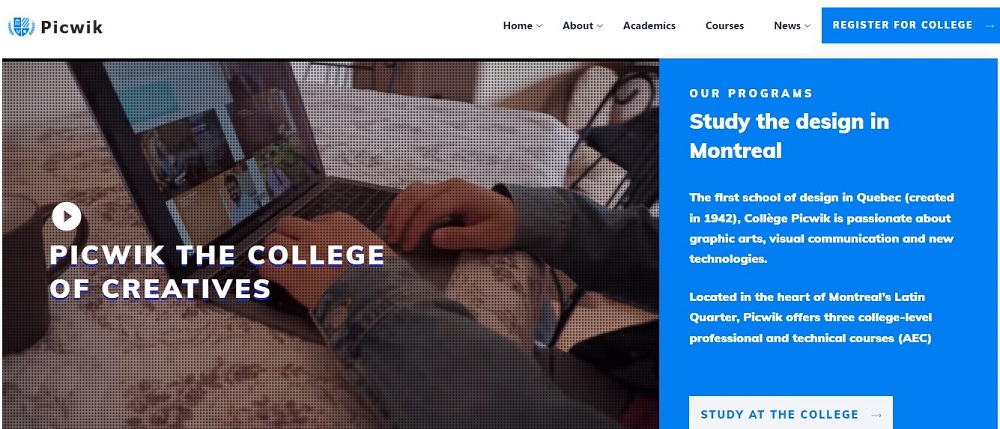
This is another design idea which is quite simple. The thing standing out is the right tab encouraging to register for the college. This is unique and is not found in other ideas which we have discussed up till now. Other thing which is different and visible to the quick glance is the study at college option, showing what programs they are offering.
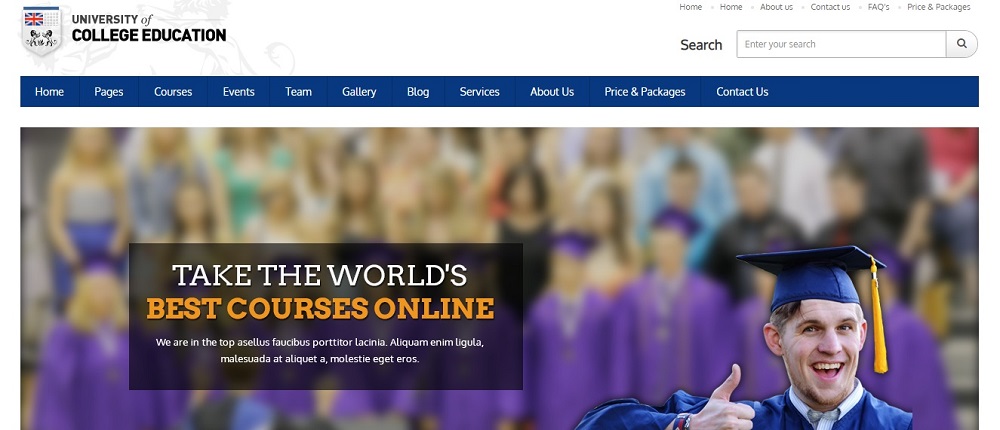
University Website design Idea 9

This is a vibrant design idea for the university. The tabs feature a courses section plus a teacher’s section which is different from other website designs. It helps students learn about the teachers which are part of the university. The right side of the website includes a vertical bar with a shopping cart letting you select the courses you want to be a part of and learn.
University Website design Idea 10
This is a simple website design with an innovative idea. The main page of the website invites students to a virtual tour of the university with a about us tab which helps you learn more about the university. Other basic academic information tab is available on the topic with a log in features for students who are already a part of this university.
Contact Tectera the leading web design company in Scarborough to get more university website design ideas.
See Also: